

Replacing your piston ring Tutorial
January 30, 2009 by Baja Planet
Filed under Tutorials
Thanks to Yamadude for taking his time to send this to us.
OK first this only covers the ring change itself the rest of Ed and Ted’s vid cover the rest.
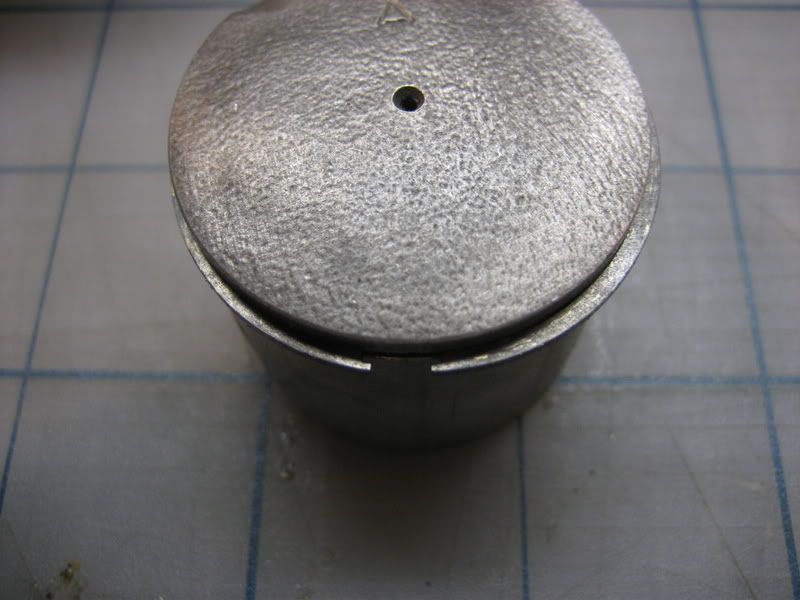
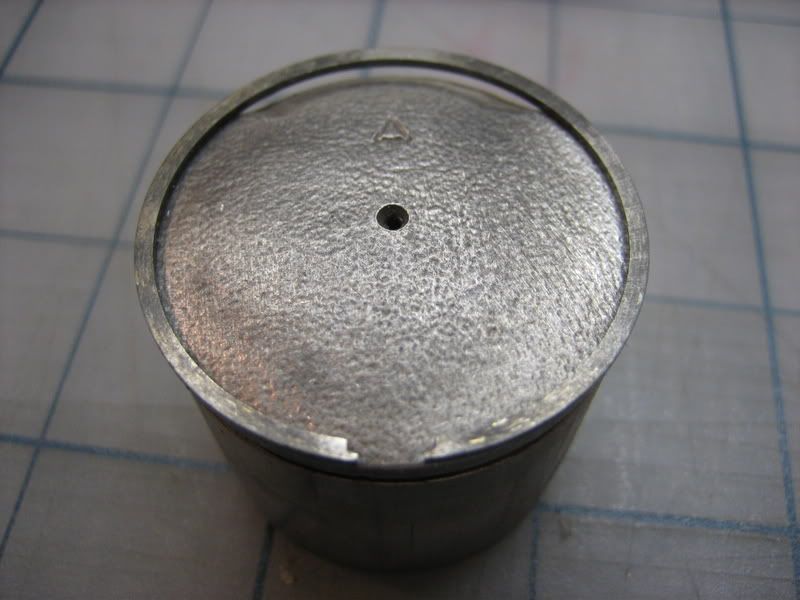
First start by removing the old ring from the piston.
Shown here is the ring still installed on the piston.
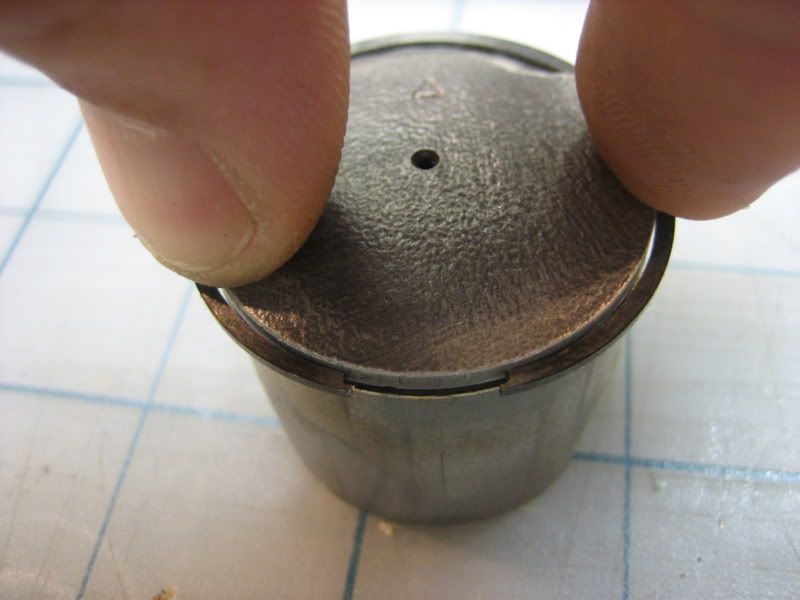
Now I use just my fingers for this but they do have ring removal tools that can be purchased but for these little guys I like to do them by hand.
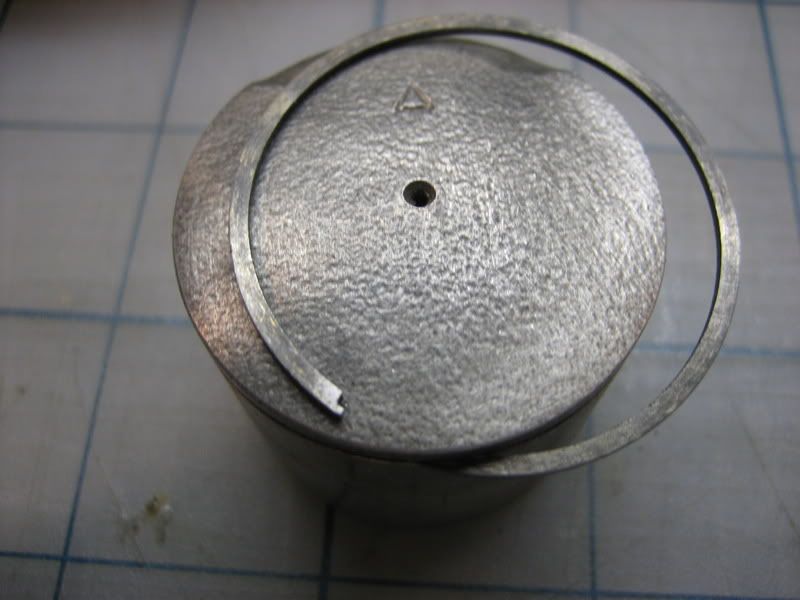
Starting from one side use your fingernail or finger itself to get a hold of one side of the ring.

Then slowly work your ring around the piston making sure not to pull to hard or use any excessive force while working it around the piston,just spin it around till it comes off without force.
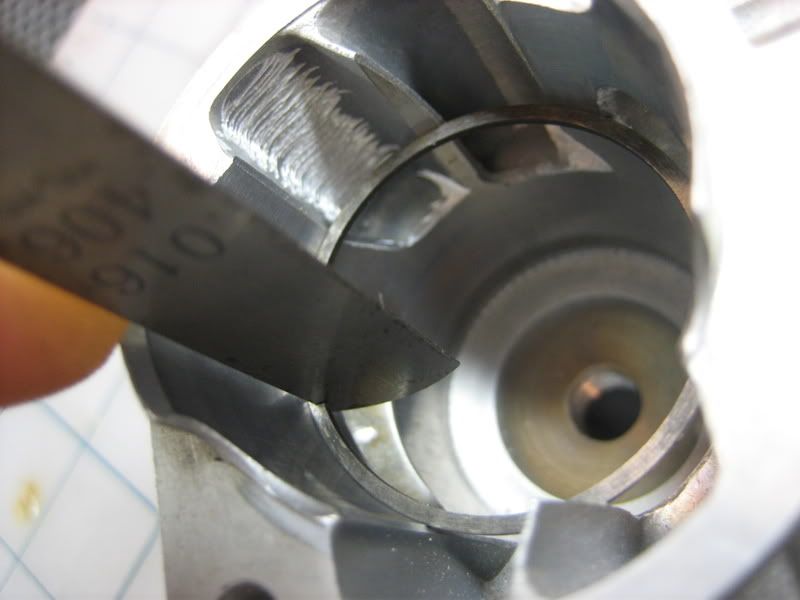
Once you have your old ring off the piston its time to check the end gap on the new one we do this by placing it in the cylinder,carefully squeeze the ring until it will drop in the cylinder(a little oil on the ring and cylinder will also aid in not scratching it for this step.
Now take your piston and push the ring in the cylinder about half way is good.This is to get the ring even in the cylinder for measurement.
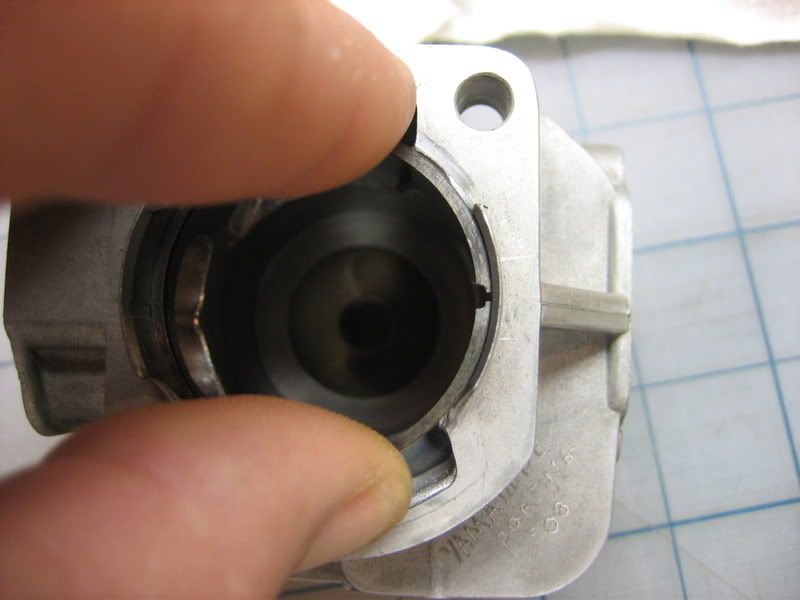
Now its very important to check your ring gap even if its brand new I have seen them range from fully closed to .08mm your looking for .04mm-.05mm for a new ring with the limit being .25mm for the old ring.
As you can see in this next pic this ones out a little far and was replaced.Also make sure your in the actual gap for the ring and not on the lip as shown in this pic as well.
Now if the gap is to tight you may have to file the ends to get the correct gap(.04-.05mm) I do this with a very fine file then I round the edges with 800 grit wet sand paper. Another thing I like to check real quick is the ring width,most of them are fine(new) but I check them just to be sure. I don’t have a pic of that particular check but its as simple as checking its width which should be .78mm with the limit being .73mm for a 23cc (32mm) and .98mm and .93mm for the limit on a 26cc (34mm) and up to a 36mm ring.
Once you have checked all the measurements its time to get it back on the piston which I choose to also do by hand,starting by setting it on the top of the piston itself,Now it doesn’t matter which way is up unless your running a reed case engine modified by ESP in which case the ring is filed in areas at the ring gap that the 5th port coincides with.
Now I just give a little push downward while pushing it apart to get the ring over the top.Be very careful not to scratch the piston in this step you can also pull the ring apart with your finger nails to help start it.
Once its over just push it in the ring groove.

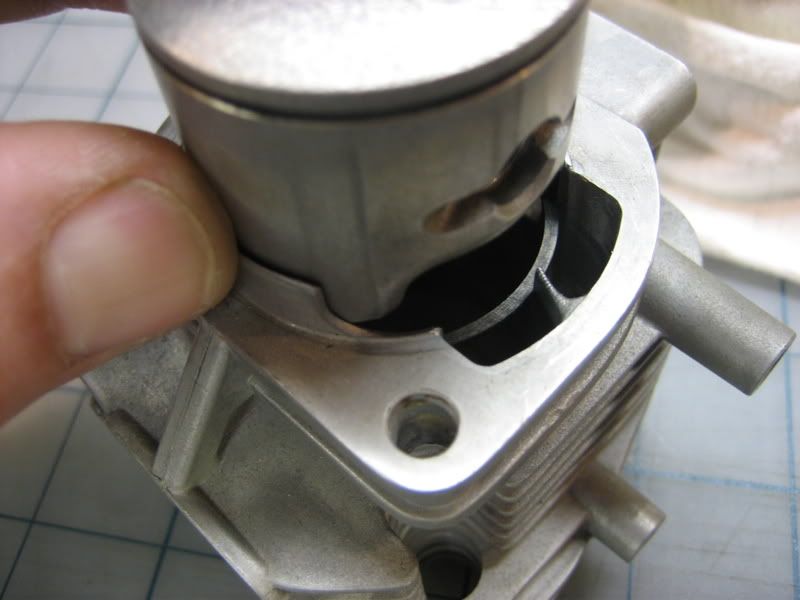
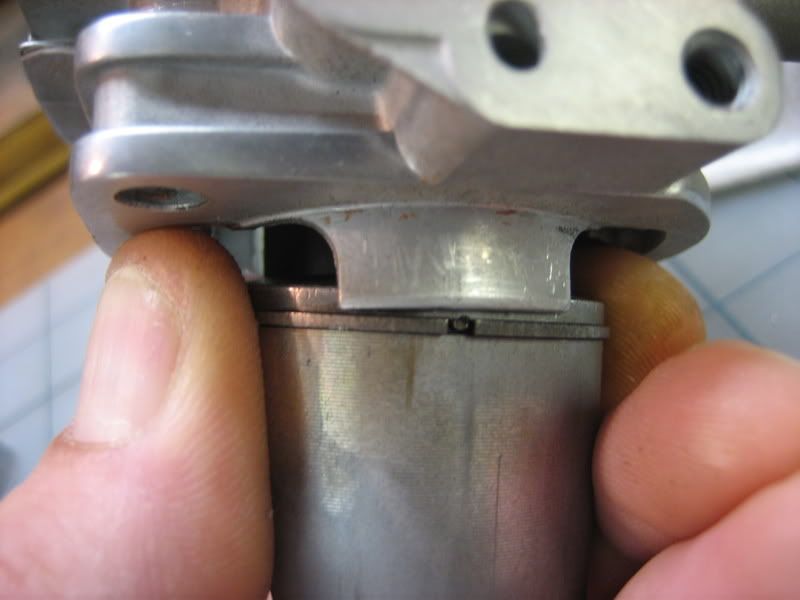
Now that your new ring is on the piston you can install the head,Its very important that you pay attention in this step as shown in Ed’s vid to get the ring gap centered on the ring pin facing the intake side of the motor arrow or 0 facing the exhaust side.
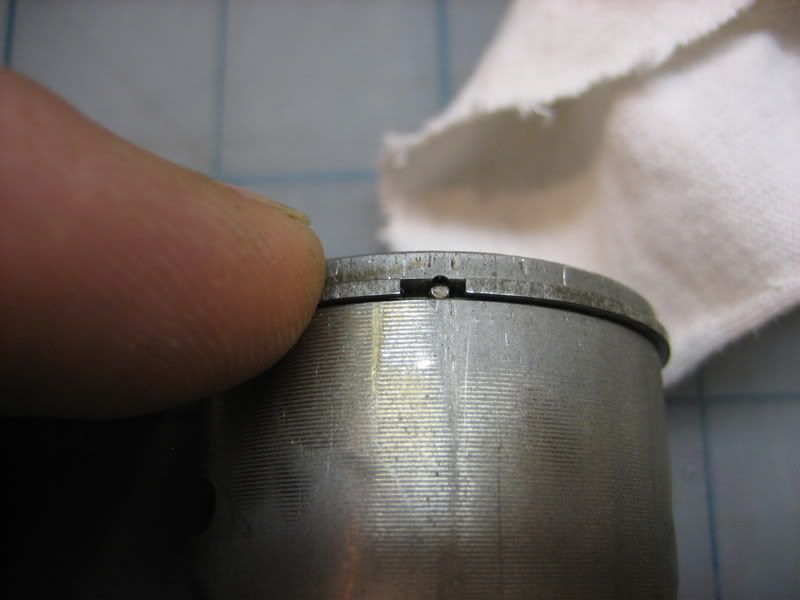
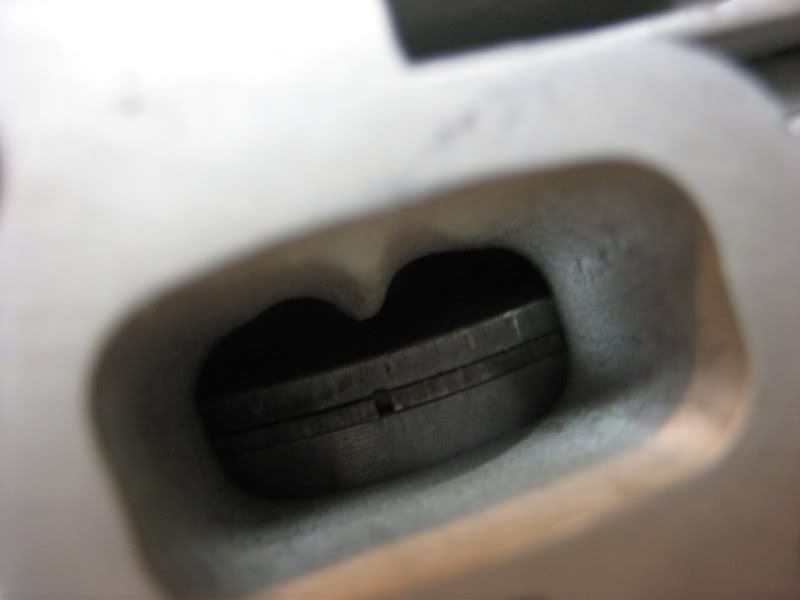
Holding the ring and piston in one hand and squeeze the ring on the piston making sure its still centered and start sliding it down on the piston,once it starts to go stop when you can see the ring in the intake track and double check its still centered on the pin.
And thats it just follow the rest of the engine tutorial to wrap up your engine.


